HOW IT WORKS
Five steps from draft to results
Follow a campaign from its first post draft through scheduling and destination-by-destination review.
- 01 / CREATE
Create or select a post
Write fresh text or use a saved library item. Add photos and selling details when needed, then check the live preview.
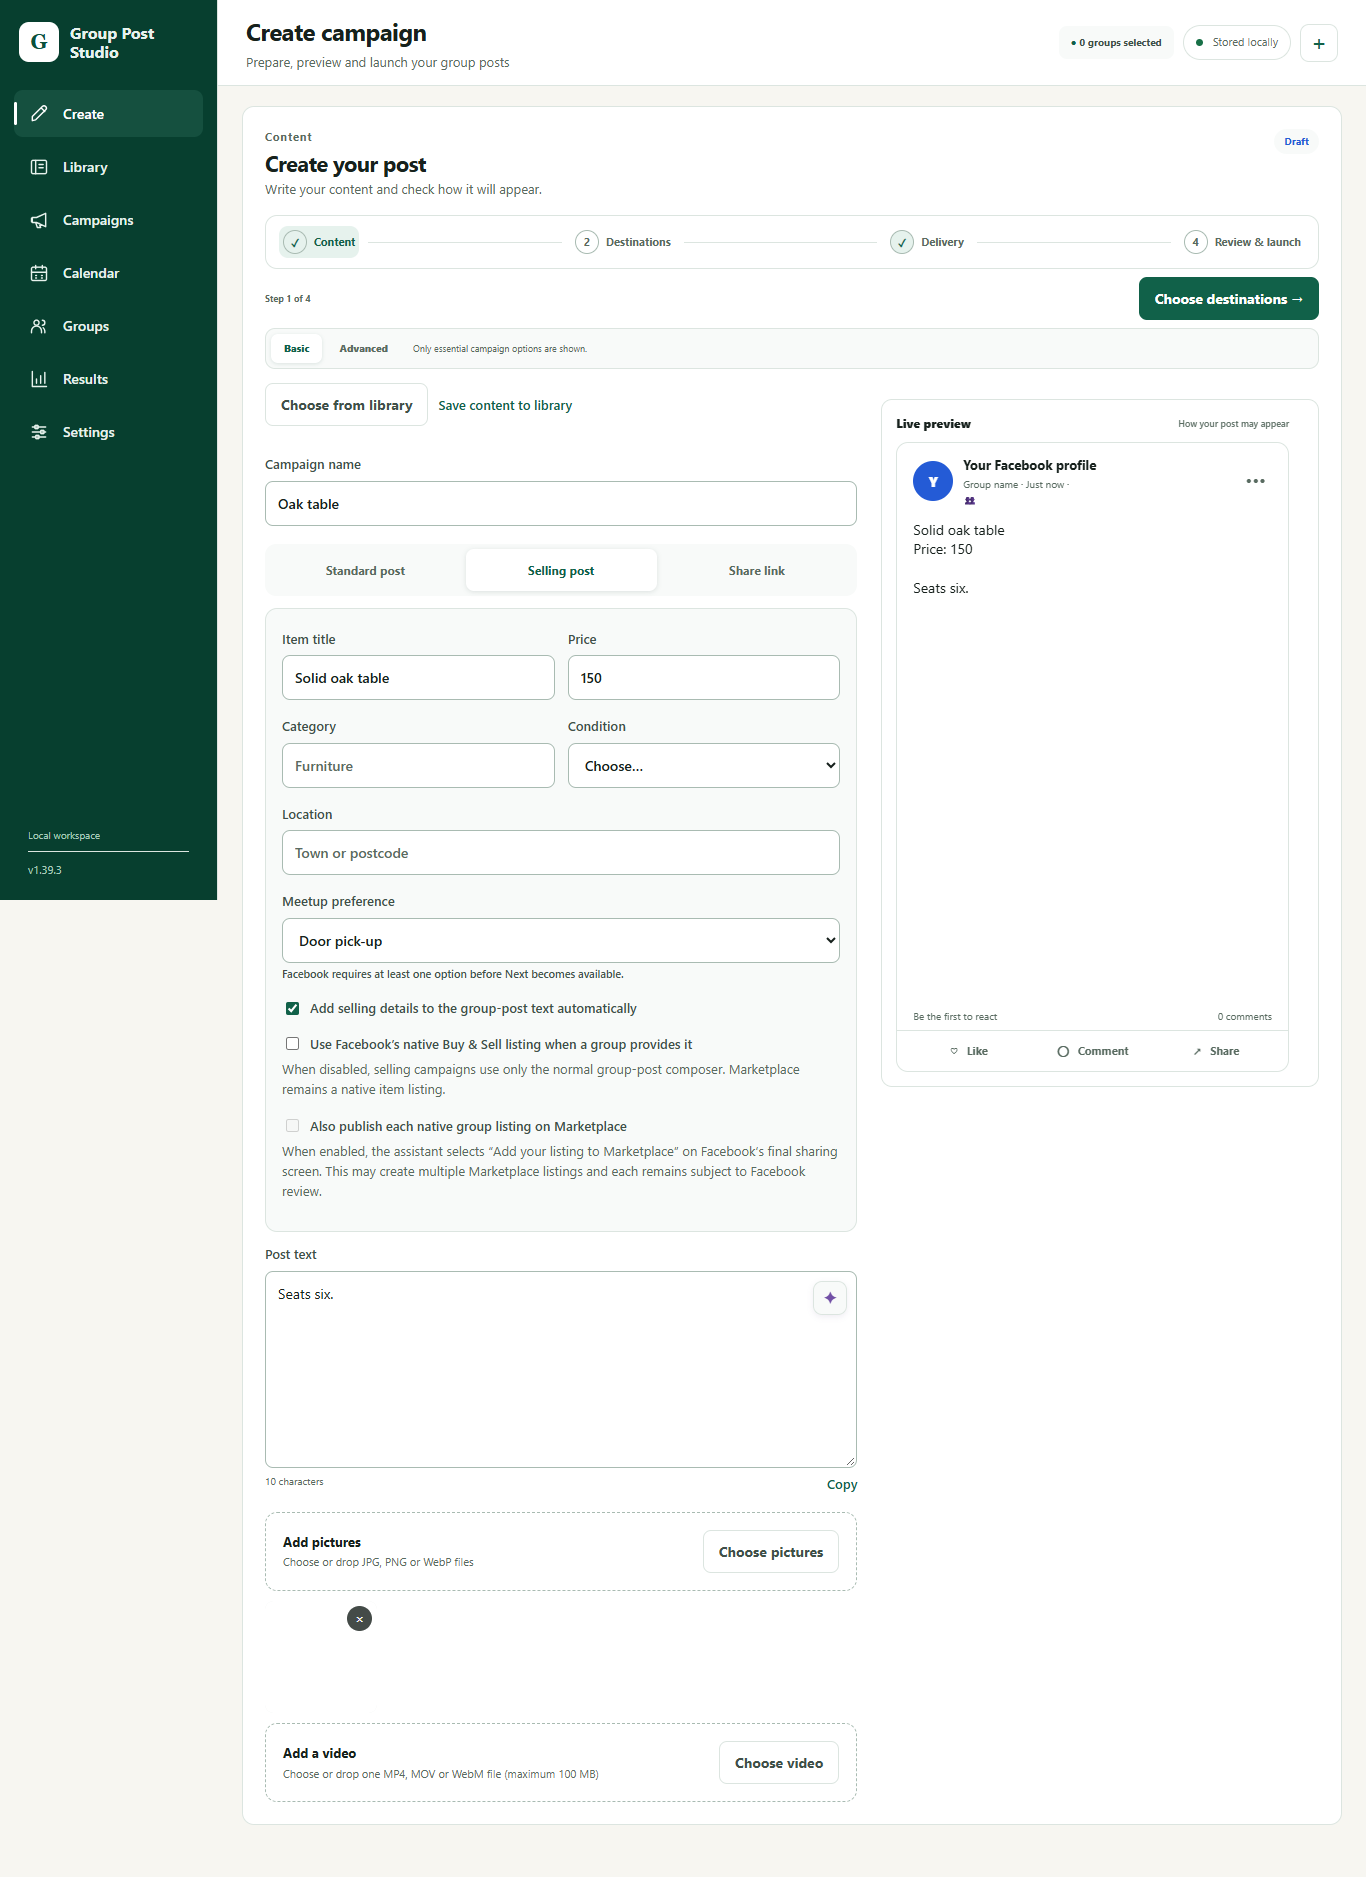
Create campaign · example dataView full image - 02 / DESTINATIONS
Choose your groups
Pick groups one by one or start from a saved list. Review each group’s notes, posting type and restrictions.
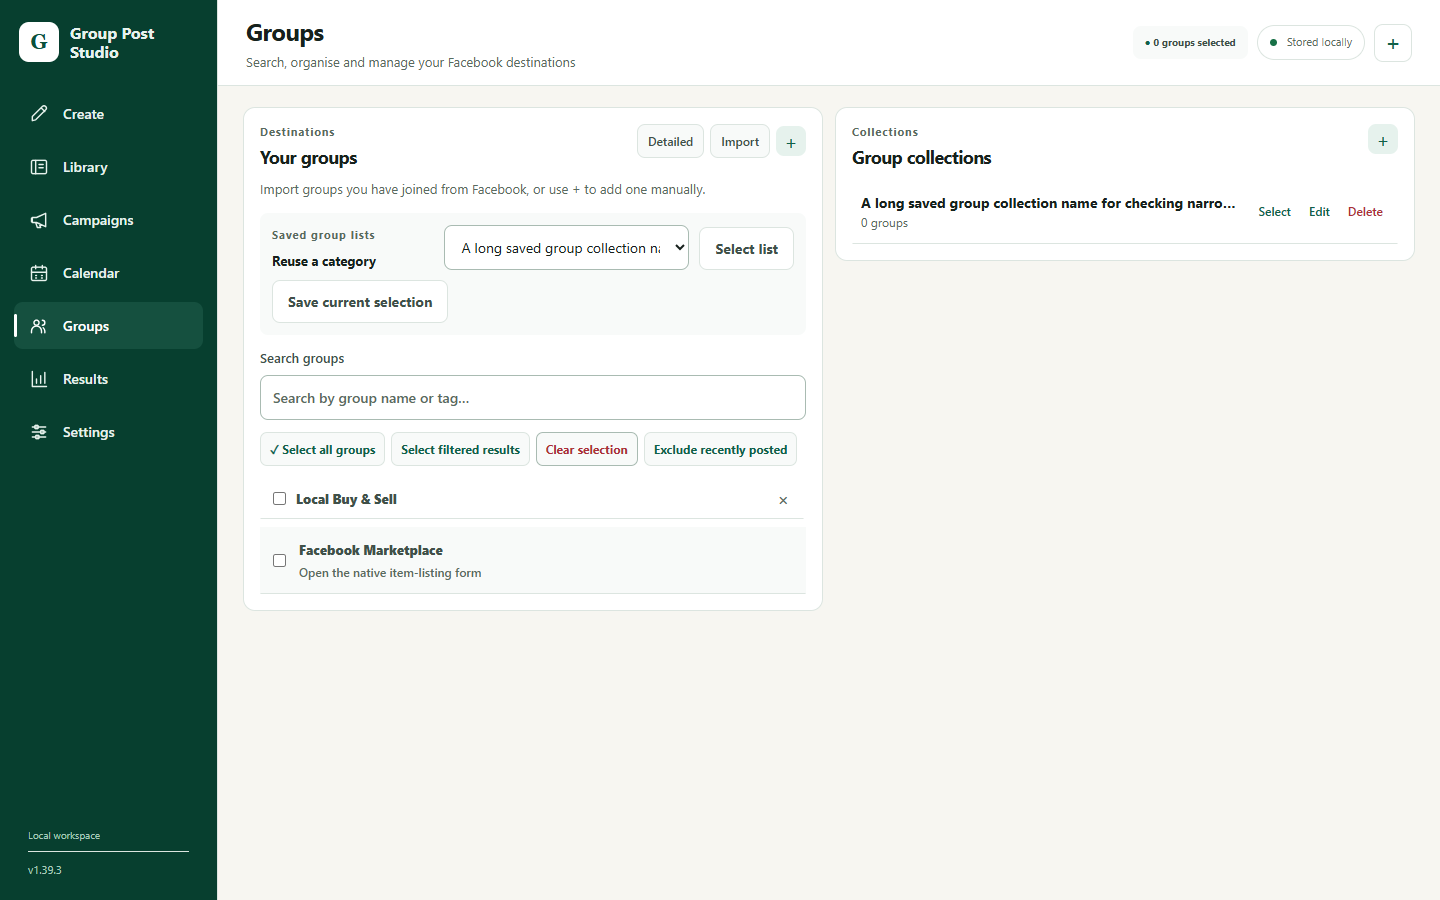
Groups workspace · example dataView full image - 03 / SETTINGS
Configure the campaign
Check posting method, timing, intervals and Safety Mode before launch. Pre-flight checks can point out warnings or blockers.
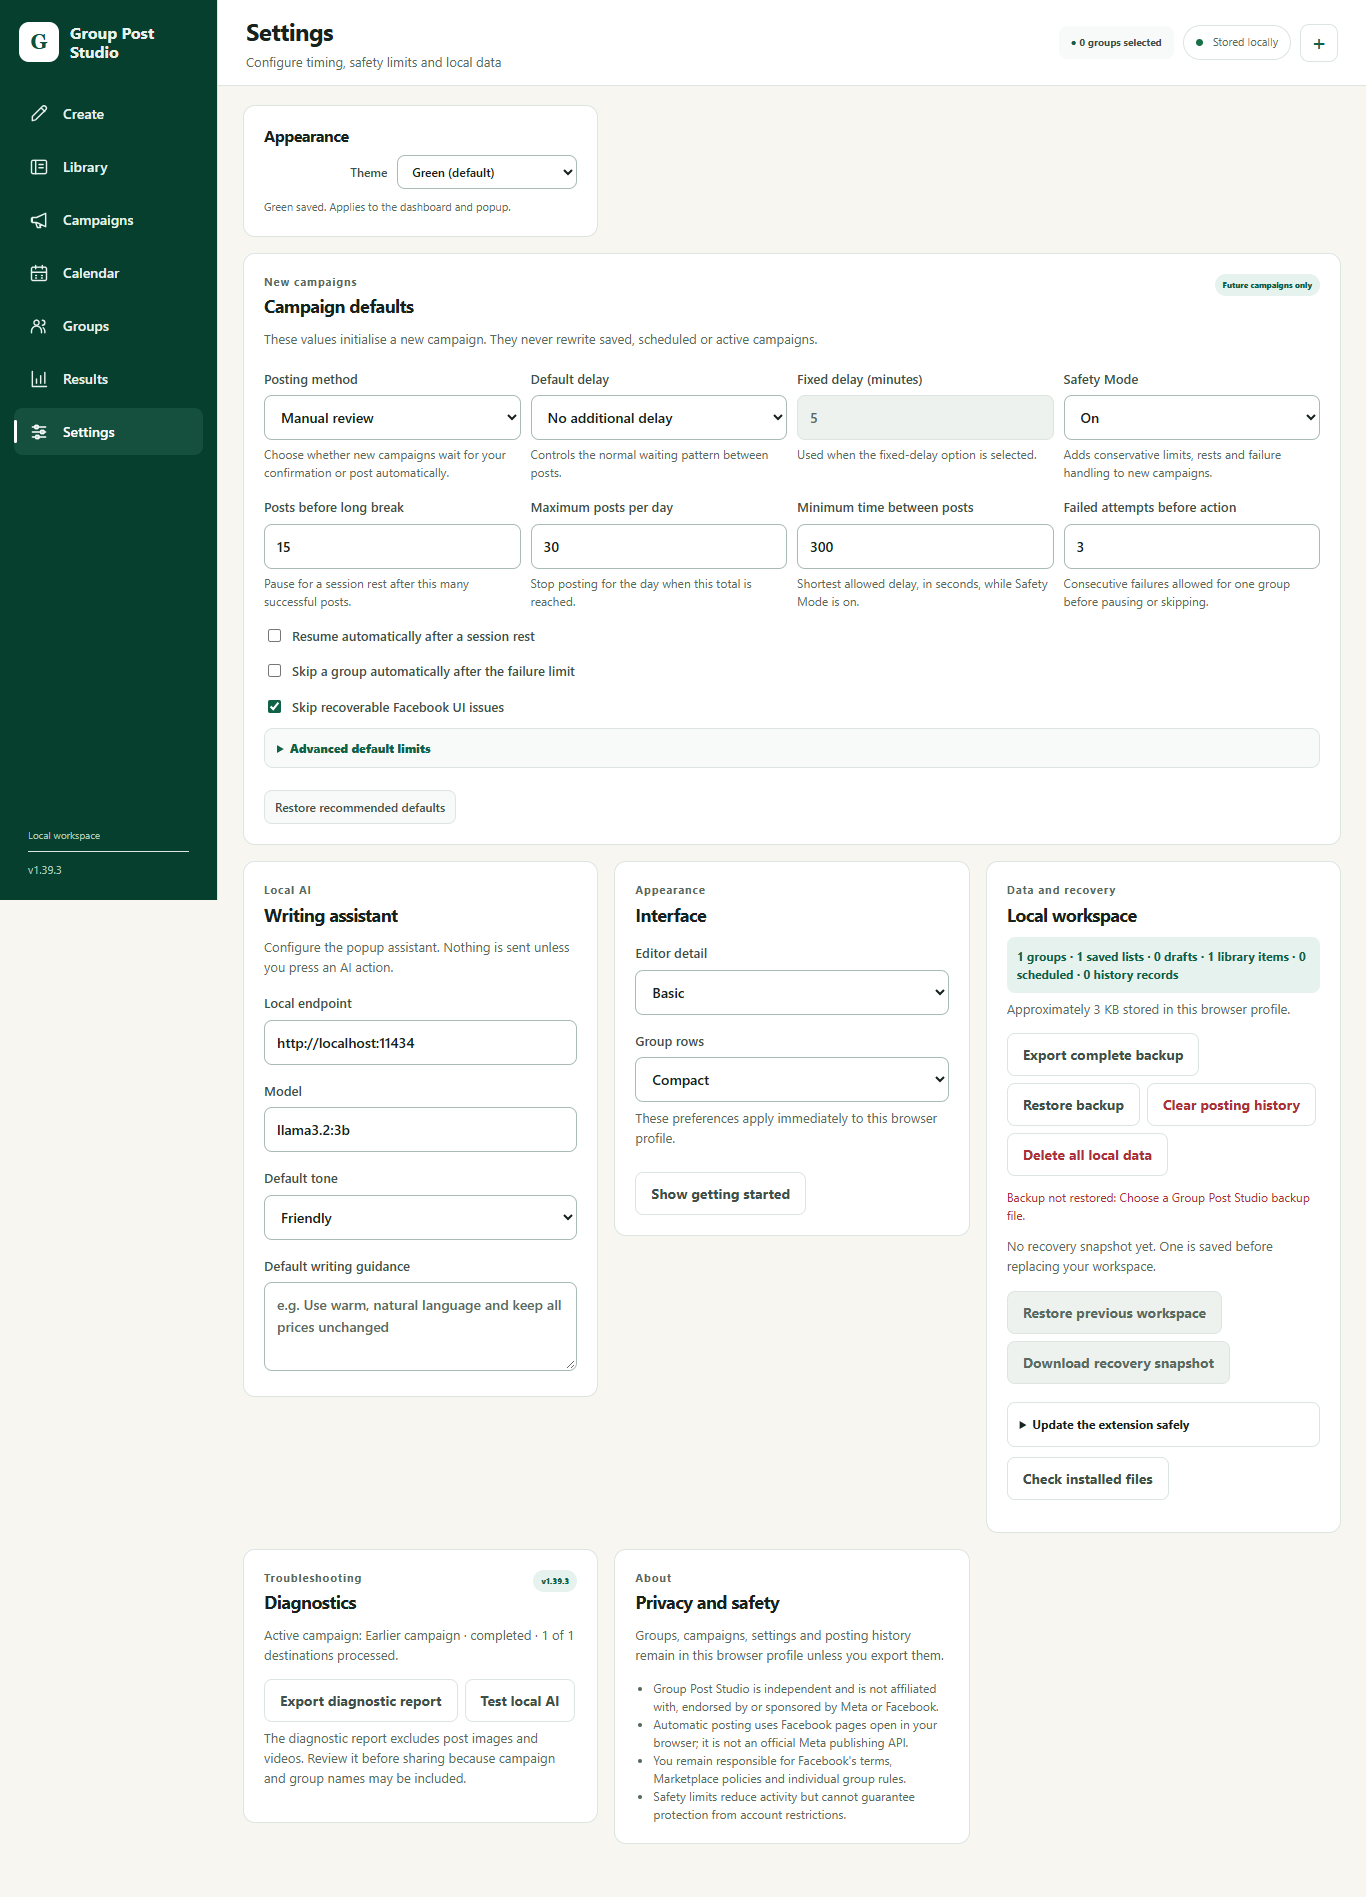
Campaign defaults in Settings · example dataView full image - 04 / TIMING
Run now or schedule later
Start after reviewing the campaign, or choose a date and time. The calendar shows planned work and capacity.
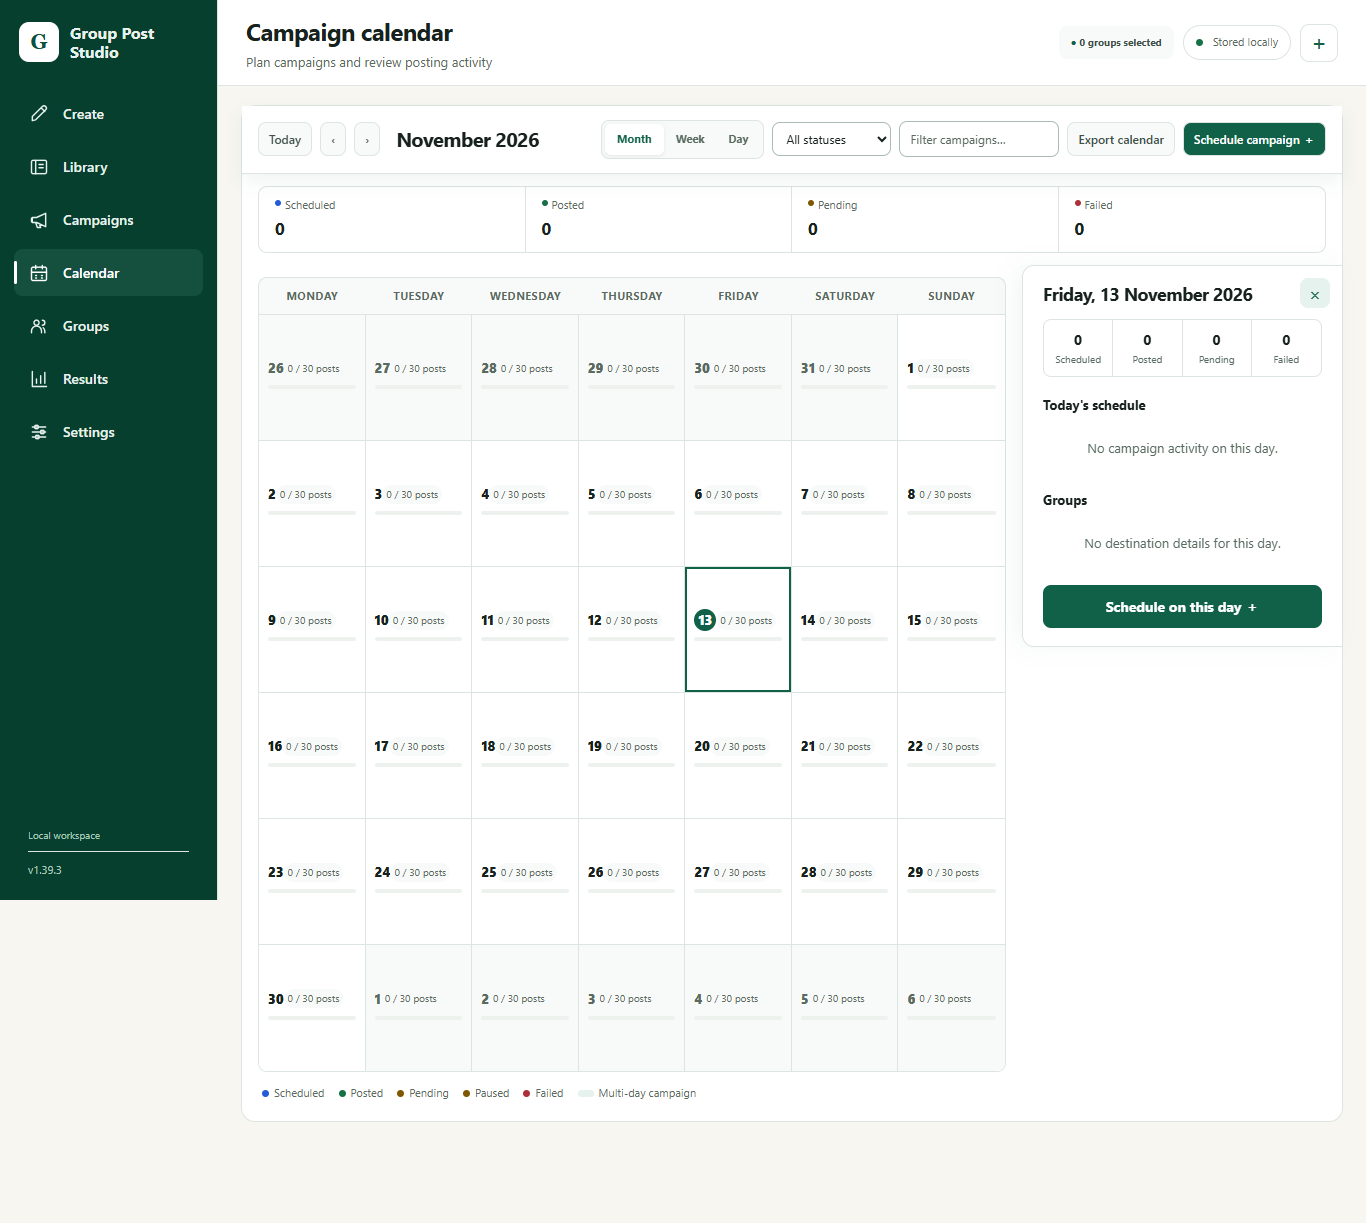
Campaign calendar · example dataView full image - 05 / RESULTS
Review what happened
Follow progress and inspect posted, pending approval, failed or skipped groups. Check uncertain outcomes before retrying.
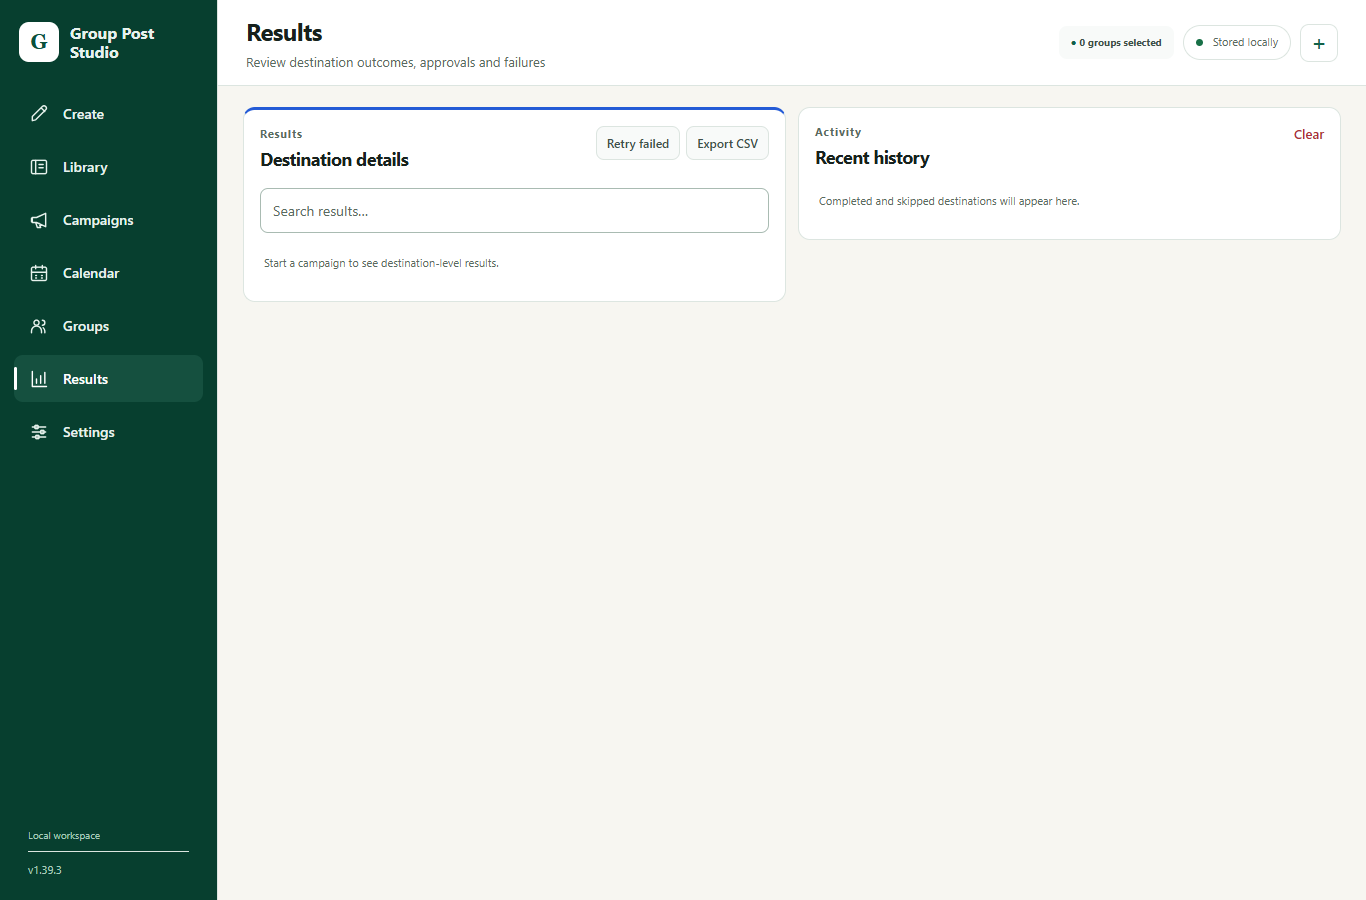
Results workspace · example dataView full image
Want a closer look?
Explore the full feature list or read the answers to common setup questions.